Waxing at Home, Done Right: From Wax Selection to Aftercare
Waxing at home gives you privacy, control over timing, and smooth skin without booking around someone else's schedule.
But a home wax works best when you borrow salon habits: clean skin, controlled temperature, fresh applicators, and a clear plan for each area. Rush any of those steps, and results fall apart quickly.
FREE COURSE
Turn Your Passion for Beauty Into a $75K+ Waxing Business
GET IT NOW!
Course successfully sent. 🎉
Please go to your inbox to receive it.
Hard Wax vs Soft Wax: Choosing the Right Formula
Most mistakes start here. Hard wax and soft wax behave very differently on skin.
| Feature |
Hard wax (stripless) |
Soft wax (strip wax) |
| Removal method |
Sets on skin, lifts off without a strip |
Removed with a fabric or paper strip |
| Grip |
Grips hair firmly with less adhesion to skin |
Adheres more broadly across the surface |
| Best use |
Sensitive areas, coarse hair, smaller zones |
Larger areas, fine to medium hair, legs, arms |
| Feel during removal |
More cushioned, flexible pull |
Sharper pull across a wider surface |
| Common home use |
Underarms, bikini line, face |
Legs, arms, chest |
Hard wax is the better formula for beginners working on sensitive areas. It gives you more control, especially where skin folds. Soft wax is efficient on broad surfaces but demands cleaner application and a confident strip removal.
Mae Mae Hard Wax: a beginner-friendly formula for sensitive skin
If you're looking for a hard wax that's genuinely forgiving for home use, Mae Mae Hard Wax from Black Coral Wax is a premium stripless formula designed specifically for sensitive and delicate skin, making it a strong choice for bikini, underarms, face, and legs.
Its low melting point and flexible consistency reduce discomfort during removal, while the formula adheres to hair rather than skin. That's exactly what beginners need when learning technique. The slower drying time gives you more room to adjust the application before the wax sets, which is a real advantage when you're still building confidence.
The wax is hypoallergenic, rosin-free, and vegan, infused with coconut oil and shea butter - ingredients that nourish and calm the skin during the process rather than leaving it irritated.
Essential Tools for Waxing at Home
Keep everything within reach before you start. Once wax is ready, you don't want to search drawers with sticky hands.
-
Temperature-controlled wax warmer - never use improvised microwave heating
-
Small and medium spatulas - smaller sticks for brows, upper lip, underarms, and bikini edges
-
Pre-wax cleanser spray or gel - skin must be free of oil, deodorant, lotion, and sweat
-
Post-wax oil - dissolves residue and calms skin after removal
-
Disposable gloves - for hygiene and grip
Step-by-Step Waxing Technique: How to Get It Right
A full session takes longer than most people expect. For begginers, prep, application, and cleanup for larger areas can take 1 to 3 hours. Poor technique leads to broken hairs and patchy results. A consistent sequence is what makes the difference.
Step 1: Prep the skin
Clean the area thoroughly to remove lotion, oil, makeup, deodorant, and sweat. Dry completely, because wax won't grip hair through moisture or residue.
Step 2: Check wax consistency
Your wax should move like warm, thick honey, spreading with gentle resistance, not dripping like syrup or clumping like paste. Test a small amount on the inside of your wrist before every session.
If your wax is too runny, too brittle, or stringy on the stick, adjust the temperature before it touches skin.
Step 3: Apply and remove correctly
-
Apply in the direction of hair growth so the wax wraps cleanly around the shaft.
-
Leave a thicker edge at the end of each hard wax application - that's your lift tab.
-
Hold the skin taut with your free hand before every pull.
-
Pull parallel to the skin, not upward. Upward pulling causes bruising, breakage, and more pain.
-
Press firmly with your hand immediately after to calm the area.
Step 4: Hygiene
Never double-dip. Once an applicator touches skin, it goes in the bin, not back into the pot. This rule matters at home just as much as in a salon.
Waxing Specific Areas: Tips by Zone
Different areas fail for different reasons.
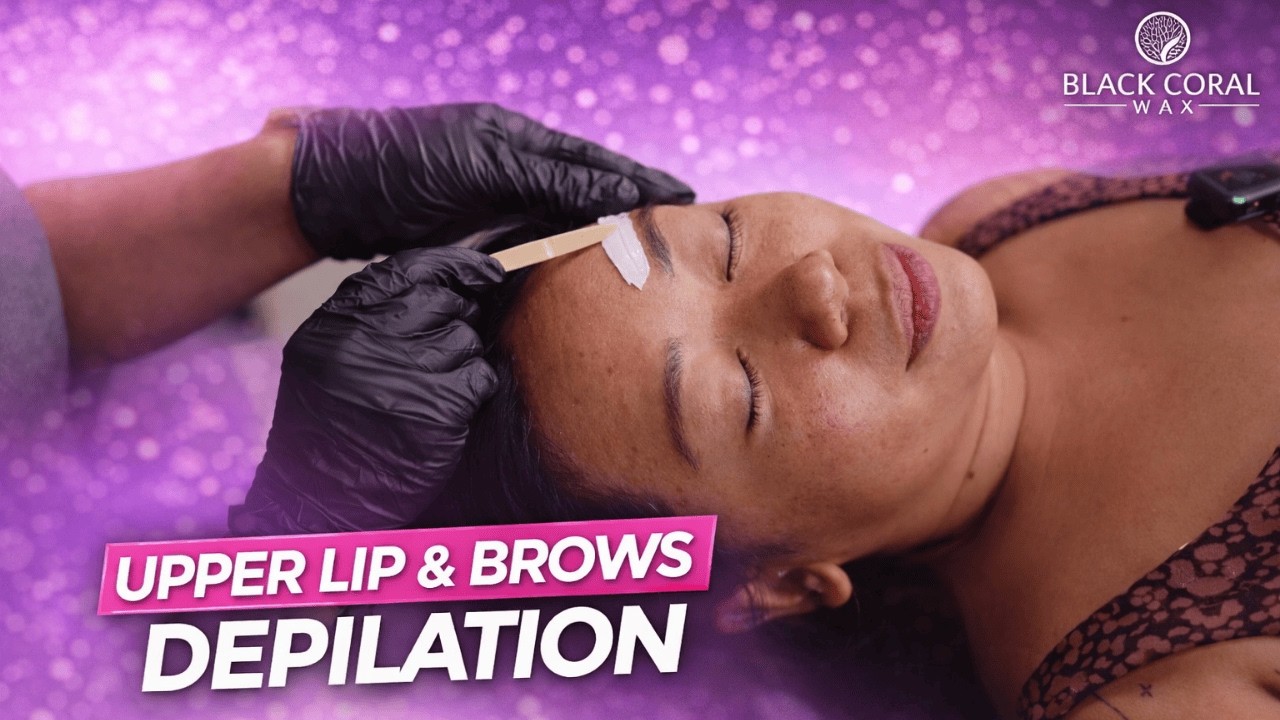
Face and brows
Use a gentle formula and very small sections. For brows, map your shape first and remove conservatively. For the upper lip, keep skin firmly stretched and work one side at a time.
Underarms
Underarm hair grows in multiple directions, making this one of the trickier areas. Professionals use a crosshatch or two-stage technique, working in small 1-2 inch patches at a 45-degree angle to remove hair more cleanly and reduce irritation.
Practical approach:
- Inspect growth direction first.
- Split the area into sections. Don't attempt the full underarm in one pull!
- Treat each growth pattern separately.
- Keep the pull low and close to the body. Pulling away increases surface trauma.
Bikini line
Use hard wax for control and comfort. Work in narrow panels, avoid applying over the same spot twice, and press skin firmly before every pull. Start outside the crease to build confidence before moving inward. For a full Brazilian, refer to this Brazilian waxing at home guide.
Legs
Leg waxing is about rhythm. Use longer applications on the lower leg where hair direction is predictable, and keep strips or pulls consistent in size. Rushing leads to sticky residue and missed patches.
Post-Wax Aftercare: Preventing Irritation and Ingrowns
Freshly waxed skin needs a calm finish.
Right after waxing:
- Remove residue with post-wax oil, then let skin rest.
- Avoid heat (hot baths, saunas), tight clothing on sensitive zones, and aggressive products.
After 48-72 hours:
- Reintroduce gentle exfoliation and consistent hydration.
- Oil-based serums tend to be more effective than lotions for ingrown prevention at this stage.
If you have wax residue, don't scrub. Saturate with post-wax oil and wipe gently. For patchy results, don't keep reworking the skin in the same session. Trim cleanup to obvious misses and revisit with better sectioning next time.
For professional-grade products to support your waxing at home routine, explore Black Coral Wax shop. The right formula, a steady warmer, and a disciplined method make home waxing far more predictable.
Frequently Asked Questions About Waxing at Home
How painful is waxing at home?
The biggest pain reducers are technique and timing. Pull quickly, keep the wax low to the skin, and press the area immediately after removal. Slow pulling hurts more and removes less.
How long should hair be before waxing?
Hair needs enough length for wax to grip cleanly. Too short means patchy removal; very long hair should be trimmed first for cleaner application and a more comfortable pull.
Can I wax during my period or while pregnant?
Many people do, but skin can be more reactive during hormonal shifts. If you notice extra sensitivity, work on a smaller area, control temperature carefully, and stop if skin becomes irritated. Consult your doctor if you're unsure.
What if I get a mild reaction?
Stop the session, cool the area gently, and keep products simple. Don't reapply wax over irritated skin. If redness worsens or skin looks damaged rather than just sensitized, seek medical advice.