Wax Machine Do's & Don'ts for Estheticians
Most bad waxing results get blamed on the wax. In practice, the wax machine is often the actual problem.
A premium formula can still turn stringy, brittle, too thick, or too runny if the warmer heats unevenly, runs too hot, or sits dirty for days. That's why estheticians who deliver consistently clean pulls pay close attention to the machine, not just the beads or cartridges they load into it.
FREE COURSE
Turn Your Passion for Beauty Into a $75K+ Waxing Business
GET IT NOW!
Course succesfully sent. 🎉
Please go to your inbox to receive it.
Why Your Wax Machine Is Your Most Important Tool
The most common advice in waxing is to "just choose a good wax." That's incomplete. A good wax in a poor warmer still performs poorly.
Your wax machine controls the one variable that affects everything on the treatment table: consistency. If the wax is overheated, it loses the feel and flexibility you need for controlled application. If it's underheated, it drags, skips, and forces you to work harder than necessary. Clients feel those differences immediately.
Temperature control affects your result on the skin
When a warmer cycles unevenly, you see it in the stick, the pull, and the finish. Wax should spread with control, wrap the hair cleanly, and not flood the area or snap before removal.
Practical rule: If your wax behaves differently from one client to the next without a formula change, check the warmer before blaming technique.
A better workflow starts with better equipment
A busy treatment room needs repeatable performance. A machine that heats predictably and holds its working texture supports clean service habits through the day.
That's also why a complete setup matters. If you’re refining your station, professional waxing supplies should be chosen as a system, not as disconnected tools.
Essential Wax Machine Do's for Flawless Services
Do preheat your wax machine properly
Rushing the warm-up costs time later. A pot that looks melted on top can still be heavy, lumpy, or stringy underneath, and that inconsistency shows up immediately in application.
Bring the wax to a fully workable texture before the first client sits down. Stir from the bottom, not just across the surface, and watch how the wax falls from the spatula. You are checking for even heat through the entire pot, because uneven melt is one of the fastest ways to create dragging, thick edges, and wasted product.
Signs the wax is ready:
-
Smooth movement: It lifts and falls in a steady ribbon.
-
Controlled spread: It lays down evenly without skipping or flooding the area.
-
Predictable set: Hard wax firms with flexibility, not a brittle snap.
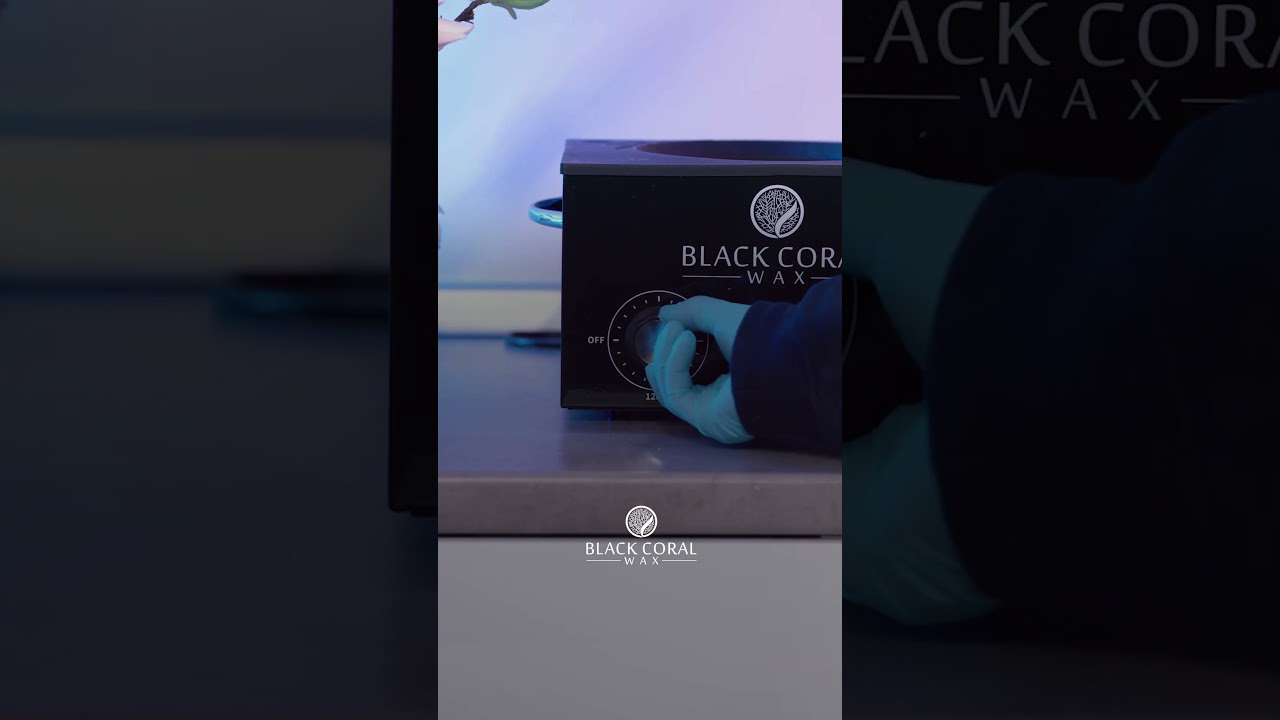
Do match the temperature to the wax type
Hard wax, soft wax, and low-melt specialty formulas each need their own setting. A warmer with vague temperature control forces you to guess during service.
Set your dial with the formula in mind, then fine-tune based on room temperature, pot volume, and service speed. Too cool, and the wax drags and grips poorly. Too hot, and it spreads too thin, loses structure, and increases client discomfort.
Melted wax is not ready wax. The correct temperature is the one that gives you clean placement, clean removal, and the same behavior from the first service to the last.
Do keep the wax pot clean
Wax residue around the rim can break off into the pot. Buildup on the housing traps heat and makes end-of-day cleanup harder. Dirty lids collect dust, powder, and splashback. Keep standards tight: wipe the rim often, clean the lid regularly, and swap inserts as needed rather than working around layers of old product.
Do maintain a steady fill level
A half-empty pot heats faster, cools faster, and changes texture sooner, especially during long body appointments. Plan refills before you are scraping the bottom, add product in measured amounts, and allow time for the pot to recover to its working consistency. Stable fill levels help you use less product, reduce correction work, and keep appointment timing under control.
Do use the right setup for your service menu
Your wax warmer should match the work you perform. Brow waxing, underarm services, full legs, and high-volume body waxing do not place the same demands on pot size, heat recovery, or station layout. Good results start before the first application-with a machine set correctly, monitored closely, and treated like the production tool it is.
Critical Wax Machine Don'ts to Avoid Client Complaints
Don't leave wax heating unattended for long periods
More time on heat does not make wax more service-ready. It breaks down the working texture. The wax may look usable from the surface, but the consistency is off. It applies thinner than expected, cools unevenly, and stops gripping hair the way a premium formula should.
Use the lid if the machine has one: it reduces airborne contamination.
Don't reheat contaminated wax
Contaminated wax is waste. Treat it that way. Hair fragments, visible debris, double-dipping mistakes, and glove contact all take wax out of circulation. Heat does not restore sanitation. Reusing compromised wax risks follicle irritation, undermines client trust, and signals a weak backbar standard.
Don't ignore inconsistent temperature behavior
Inconsistent heat is one of the top waxing temperature mistakes and a fast way to get complaints about discomfort or broken hair. A warmer that overshoots temperature, cools too slowly, or cycles unpredictably makes it almost impossible to hold the narrow working range that many professional waxes need.
Watch for these warning signs:
-
Uneven melt: One side is fully fluid while the center or edge stays dense.
-
Erratic consistency: The wax starts thick, then suddenly turns runny with only minor dial changes.
-
Frequent client feedback about heat: You are testing more often because the wax feels less predictable.
-
Slow recovery between services: The pot cannot return to working texture quickly after use or refill.
Don't delay maintenance until the unit fails
Wax machines usually decline in small, obvious ways first: sticky controls, baked-on residue, loose lids, frayed cords, unstable feet. A neglected warmer adds cleanup time, creates service interruptions, and increases product waste because the wax no longer behaves consistently through a full day of appointments.
Don't buy a replacement unit based on price alone
Cheap warmers often cost more in corrections, wasted wax, and client dissatisfaction. These features matter in daily use:
|
Feature
|
Why it matters
|
|
Cool-touch handles
|
Lower burn risk when moving or emptying the insert
|
|
Non-slip feet
|
Keep the unit steady on damp or crowded work surfaces
|
|
Removable inserts
|
Make cleanup faster and reduce residue buildup
|
|
Lids
|
Limit contamination
|
How to Choose a Professional Wax Warmer
Price is the easiest detail to compare, and one of the least useful. In the treatment room, the better warmer is the one that holds a steady working texture through a full book of services, cleans up without slowing your turnover, and gives you enough control to protect skin.
Choose temperature control you can work with
A professional wax warmer should allow small, predictable adjustments. If one slight turn takes the wax from tacky to watery, you will spend the day correcting texture instead of waxing. Dial accuracy is not a minor feature; it is part of service quality. Digital displays can help, but what matters is whether the machine gives you repeatable results with your wax, your room temperature, and your service pace.
Match capacity to your real appointment flow
A compact warmer makes sense for facial waxing, underarms, and stations with limited space. A larger basin fits body waxing better, especially with back-to-back appointments. Multiple wells help if you keep separate wax types ready for different areas or client needs. Choose the best proffesional wax warmer for your workflow, not for the busiest day you had once last quarter.
Prioritize materials, insert design, and cleanup time
A warmer can look polished and still be frustrating in daily use. Check the insert, lid fit, housing material, handle design, and how easily dried residue wipes off. Removable inserts save time, stable lids reduce contamination, and smooth interior surfaces are easier to clear than units with awkward seams or poorly finished edges.
A Simple Routine for Wax Machine Setup and Maintenance
A wax machine lasts longer and performs better when the routine around it is simple enough to repeat every day.
Initial setup
Start with placement. Put the unit on a stable, dry, heat-safe surface with enough room around it for clean movement. Avoid crowded corners where cords get pulled or wax drips onto other tools.
Before the first service, check that the insert, lid, outer housing, and cord are clean and intact. Load only the wax format the machine is designed to heat.
Ongoing maintenance
Use a short schedule instead of waiting for buildup.
-
After each service: Wipe the rim, remove fresh drips, and keep the lid clean.
-
Daily: Empty or secure product properly, clean exposed residue, and shut the unit down fully.
-
Weekly: Inspect the cord, plug, and base for wear, stickiness, or instability.
-
Monthly: Do a deeper clean of the insert and any hard-to-reach buildup points.
A machine that looks "mostly fine" can still create inconsistent heating. Clean equipment is part of service quality, not a separate task.
For a more detailed process, use this step-by-step guide on how to clean a wax warmer.
Frequently Asked Questions About Wax Machine
Can I use different wax types in the same machine?
Yes, if the machine is designed for that wax format and you clean the insert properly between products. Don't switch between formulas casually if residue from the previous wax is still present.
How do I know if my wax machine is failing?
Watch for uneven melting, poor temperature stability, strange texture changes in familiar wax, or visible wear on the cord, lid, or base. If you've ruled out setup and temperature errors, the unit may no longer be reliable.
Should I keep wax heating all day?
Only if you're actively managing the machine and maintaining the proper working state. Long idle heating at the wrong setting degrades performance and creates avoidable hygiene and safety issues.
What's the safest way to clean wax from the outside of the unit?
Let the machine cool first, then remove residue carefully without soaking the device. Focus on the housing, handles, rim, and lid so buildup doesn't accumulate around touch points.